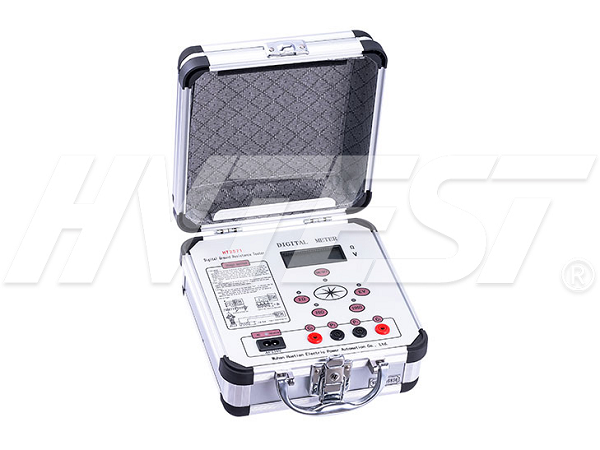
Detection Technology
Ground resistance tester measurement steps
Grounding resistance tester measurement steps:
1) Insert the two grounding probes into the ground 20m and 40m away from the grounding body along the radiation direction of the grounding body, with an insertion depth of 400mm, as shown in the figure below. Diagram of grounding resistance test
Diagram of grounding resistance test: a) Actual operation b) Equivalent principle
2) Place the grounding resistance measuring instrument flat near the grounding body and connect the wires. The wiring method is as follows:
① Use the shortest dedicated wire to connect the grounding body to the terminal "E1" (three-terminal button measuring instrument) of the grounding measuring instrument or the common terminal (four-terminal button measuring instrument) after shorting C2.
②Connect the measuring probe (current probe) 40m away from the grounding body with the connection button "C1" of the measuring instrument with the longest dedicated wire.
③Connect the measuring probe (potential probe) ⒛m away from the grounding body with the terminal "P1" of the measuring instrument with the remaining special wire in the middle of the length.
3) After placing the measuring instrument horizontally, check whether the pointer of the galvanometer points to the center line, otherwise adjust the "zero adjuster" so that the pointer of the measuring instrument points to the center line.
4) Set the "magnification scale" (or coarse adjustment knob) to the maximum multiple, and slowly turn the generator handle (the pointer starts to shift), and at the same time rotate the "measurement dial" (or fine adjustment) Knob) to make the galvanometer pointer point to the center line.
5) When the pointer of the galvanometer is close to balance (the pointer is close to the center line), shake the handle to speed up to 120r/min or more, and adjust the "measurement dial" to make the pointer point to the center line.
6) If the reading of the "measuring dial" is too small (less than 1) and it is not easy to read and accurate, it means that the magnification scale is too large. At this time, you should set the "magnification scale" to a smaller multiple, readjust the "measurement dial" so that the pointer points to the center line and read the accurate reading.
7) Calculate the measurement result, that is, R ground = "Magnification scale" reading × "Measuring dial" reading.
Partial discharge detection method | 2020/11/12 | reading801time Operation and use of relay protection tester | 2020/11/11 | reading756time return


